The first in this series, and quite possibly the best for beginners is the gesture sketch. This is great for super fast sketching and embraces errors and allows for easy correction. I like to use this technique to capture images in two minutes or less because it really focuses on the gesture or movement of the subject. This is less about a finished piece of art and more of a warmup exercise to stretch those drawing muscles. Three-fourths of becoming a good artist is learning how to see and the rest is learning techniques to draw what you see. Perspective is everything, and this little exercise will allow for developing that ability to see things as they are and not as you imagine them to be. Want to learn how? Grab a pen and set your timer for 60 seconds to join along...

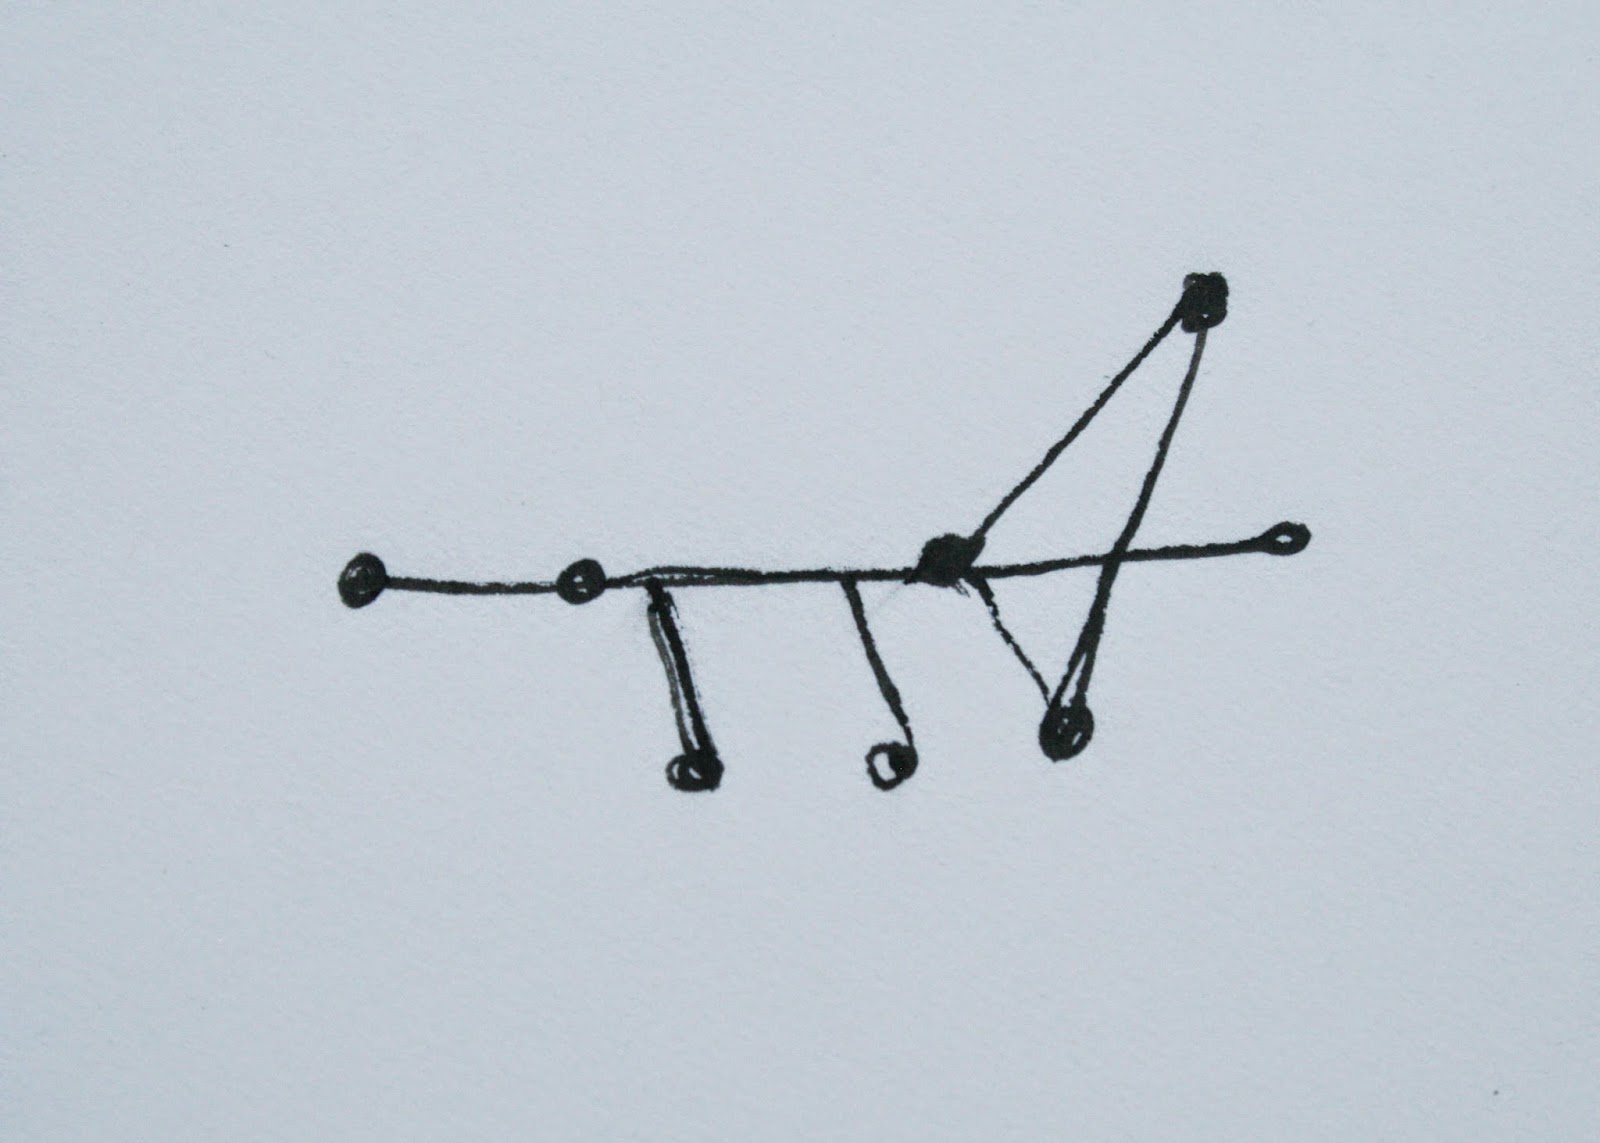
This technique is pretty much a controlled scribble, and is meant to be done super fast, like a ninja. Instead of just starting wherever, take a few seconds after the timer's started to glance over the subject. Begin by identifying the main points of your subject. You're not looking for volume or space, but are noticing the intersections of different appendages as well as the farthest reaching points. Once you've identified them, begin drawing. In this grasshopper sketch, I've drawn points at the head, thorax, end of the abdomen, and the legs:
Once you've started drawing, don't pause or lift your pen from the paper. That keeps you from lollygagging and helps you draw fast. Continue by filling out the lines with some snakey scribbles. The point it to get the general idea of space taken by the subject:

The trick is to get it as identifiable as possible in a short amount of time. Continue with your frantic scribbles to fill out that shape. You should be spending most of your time looking at your subject than at the paper you are drawing. Really look at your subject. Pay attention to the shape in general, then look at it again for a few more specifics, then look at it again with an even more detailed eye. Refine and redefine the shapes as you scribble, and if you have enough time, now you can concern yourself with volume:

You'll notice this isn't the prettiest sketch, and that's okay. It seriously took seconds. I didn't get all of the leg joints in before my time was up, the head shape is way off, and some of the angles are wrong. That's fine, this is not finished art.
This is a great exercise to do before sitting down and actually drawing for realsies. I like to do 5-10 subjects for a couple minutes each (or try 30-second increments if you really want to challenge yourself) to relax and settle into the practice of drawing. Doing this has probably helped me improve my observation skills the fastest out of any other drawing exercise I've done. The more comfortable you get with the quick format, the better you are at seeing subtle differences in angles and proportions sooner and the better the actual sketch will look after a while.
I'd love to know if you found this helpful or if you've already tried this. And if you've tried this, do you have any tips to add?
No comments:
Post a Comment